
This lesson is made with PSPX9
But is good with other versions.
© by SvC-Design

Materialen Download :
Here
******************************************************************
Materials:
DECO PERSO 1 159 JUILLET 2021.png
DECO PERSO 2 159 JUILLET 2021.png
DECO PERSO 3 159 JUILLET 2021.png
DECO PERSO 4 159 JUILLET 2021.png
SELECTION 1 159.PspSelection
SELECTION 2 159.PspSelection
SELECTION 3 159.PspSelection
SELECTION 4 159.PspSelection
SELECTION 5 159.PspSelection
SELECTION 6 159.PspSelection
Texture-tuto-78-Azalee.psd
wallpapertip_ocean-wallpaper_61399.jpg
JUIN 2021 DECO PANCARTE SWEETY.png
JUIN 2021 SAMANTHA SWEETY.png
******************************************************************
Plugin:
Plugins - VM Toolbox - Zoom Blur
Plugins - Carolaine and Sensibility - CS-BRectangles
Plugins - AP[Lines] – SilverLining - vertical
Plugins - Flaming Pear - Kyoto Color
Plugins - Eye Candy 5 Impact - Glass
Plugins - Flaming Pear - Flexify 2
Plugins - Filters Unlimited - Background Designers IV - sf10 Shades of Shadow
******************************************************************
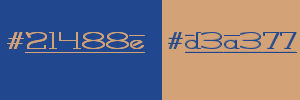
color palette
:
******************************************************************
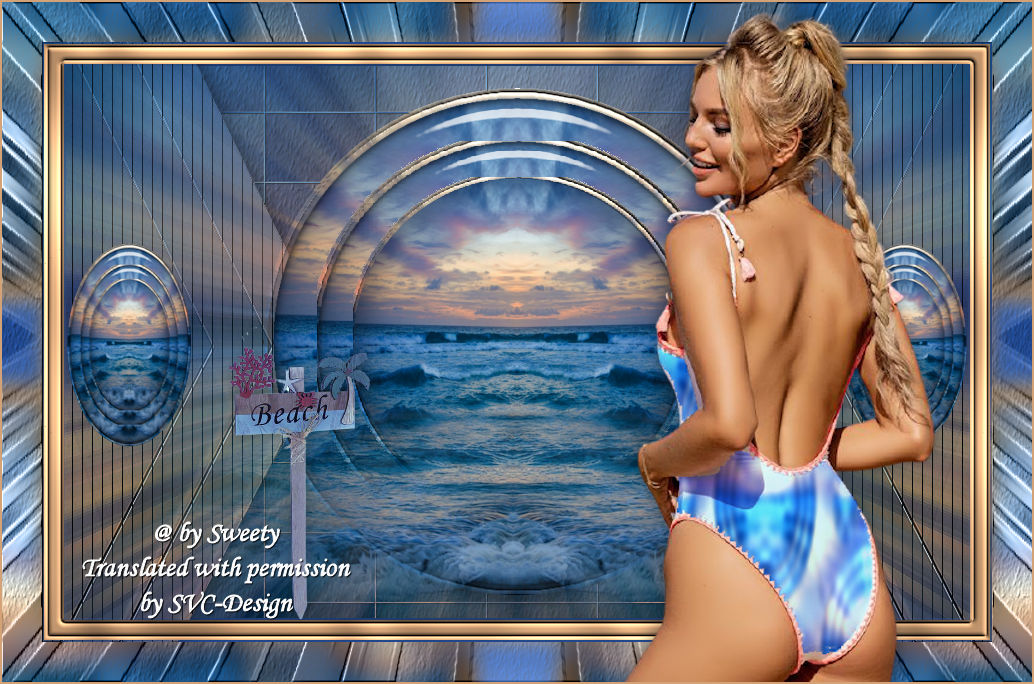
methode
When using other tubes and colors, the mixing mode and / or layer coverage may differ
******************************************************************
General Preparations:
First install your filters for your PSP!
Masks: Save to your mask folder in PSP, unless noted otherwise
Texture & Pattern: Save to your Texture Folder in PSP
Selections: Save to your folder Selections in PSP
Open your tubes in PSP
******************************************************************
We will start - Have fun!
Remember to save your work on a regular basis
******************************************************************
1
Materials palette - set the foreground color to #21478e and the background color to #d3a277
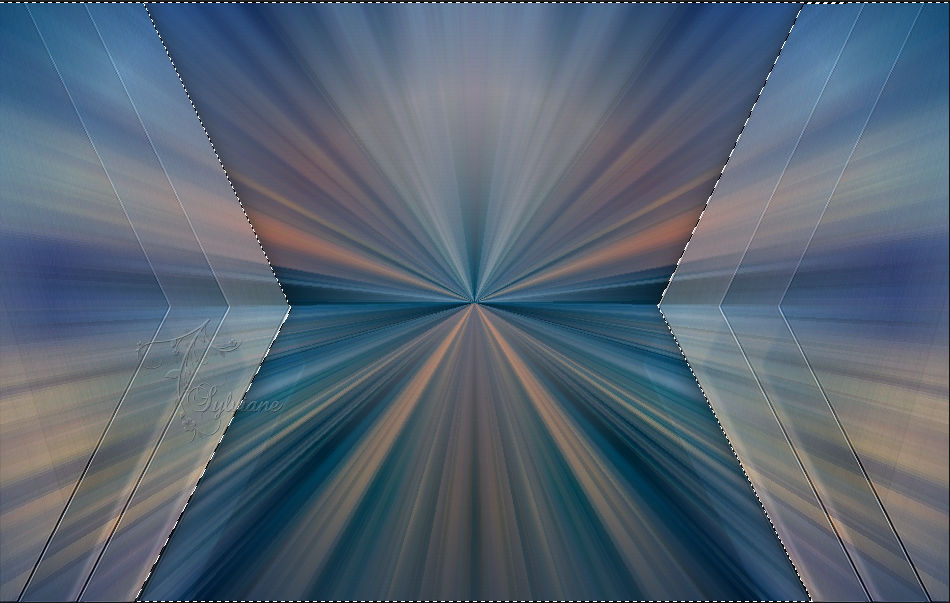
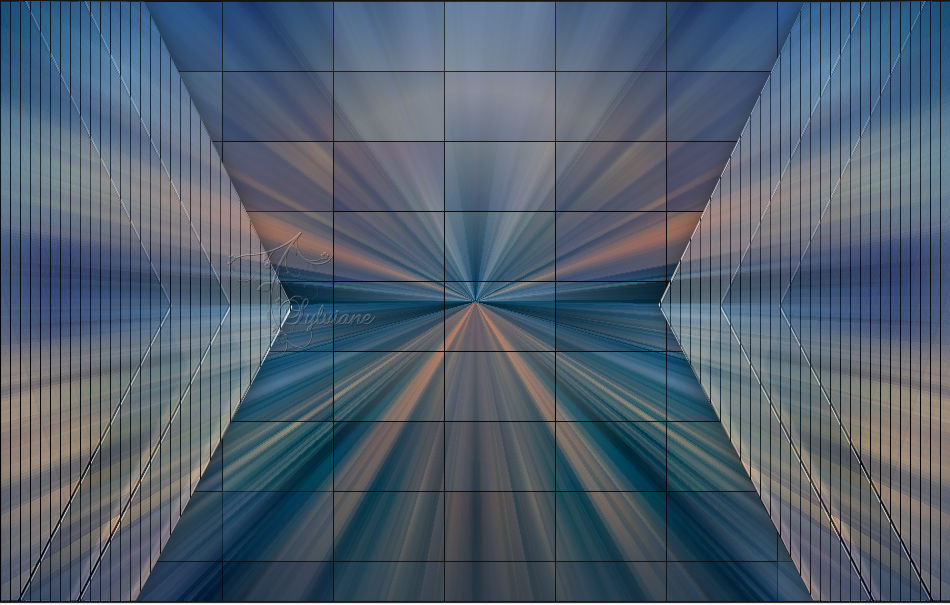
Open a new 950 x 600 pixel transparent image
Selections - select all
Open the image "FOND 1 159 "
Edit - copy
Activate your work
Edit - paste into selection
Selections - select none
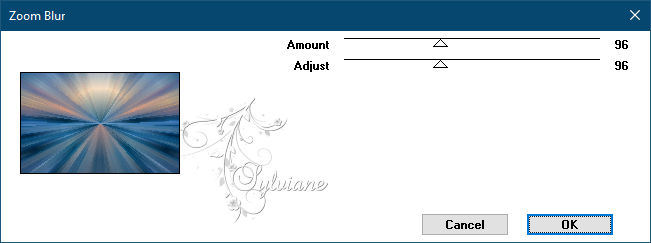
Plugins - VM Toolbox - Zoom Blur
2.
Layers - new raster layer
Selections - select all
Open the tube "DECO PERSO 1 159 JUILLET 2021"
Edit - copy
Activate your work
Edit - paste into selection
Selections - select none
blend mode : multiply
Adjust - sharpness - sharpen
3.
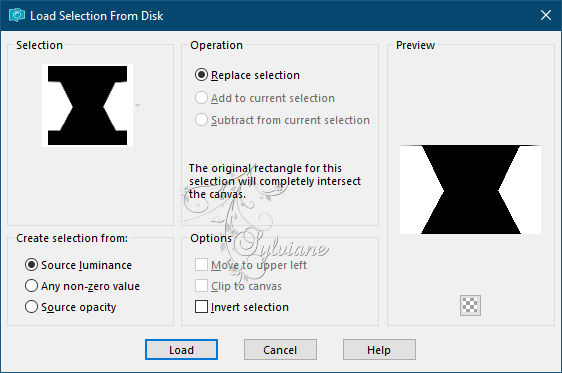
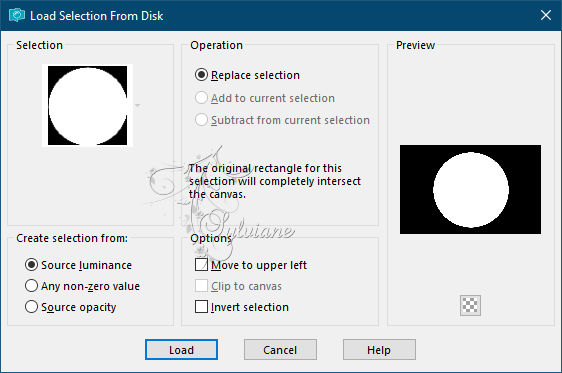
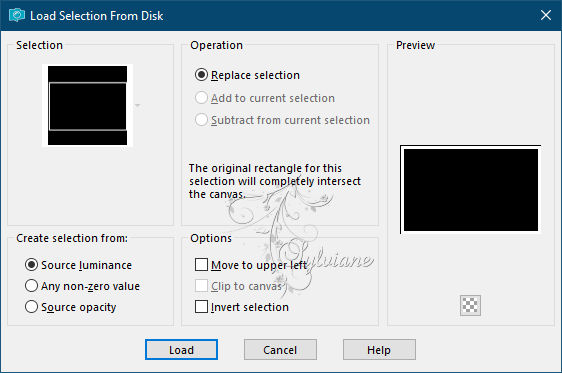
Selections - load/save selection - make selection from disk "SELECTION 1 159"
Selections – Promote selections to layer
Effects - 3D Effects - Drop Shadow
0/0/60/30 color:#000000
Selections – invert
4.
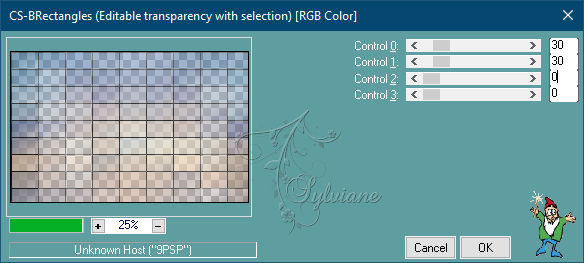
Activate raster 2
Plugins - Carolaine and Sensibility - CS-BRectangles
Selections - invert
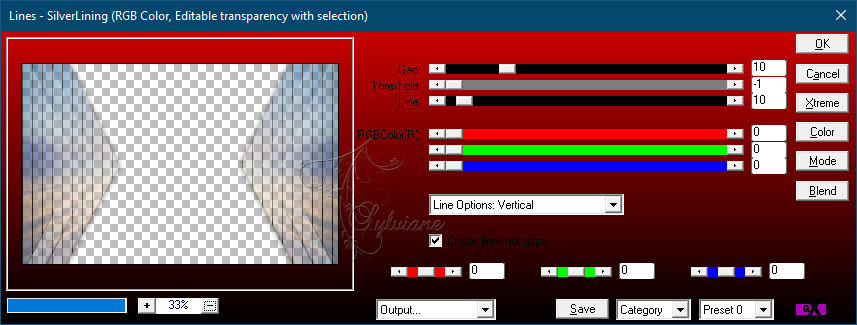
Activate Promoted Selection
Plugins - AP[Lines] – SilverLining - vertical
Selections - select none
5.
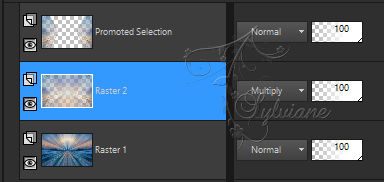
Our layers and our tag look like this:
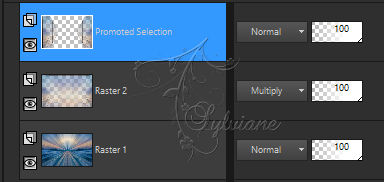
Activate raster 1
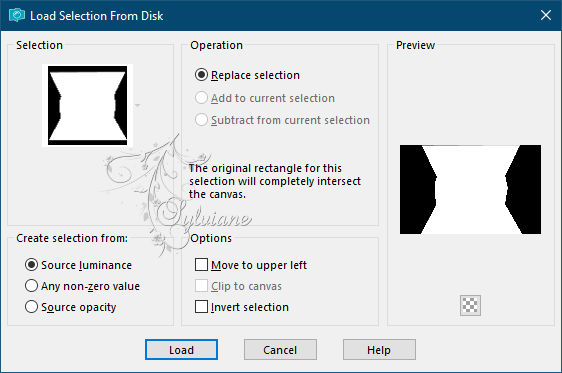
Selections - load/save selection - make selection from disk "SELECTION 2 159"
Selections – Promote selections to layer
Layers – arrange – bring to top
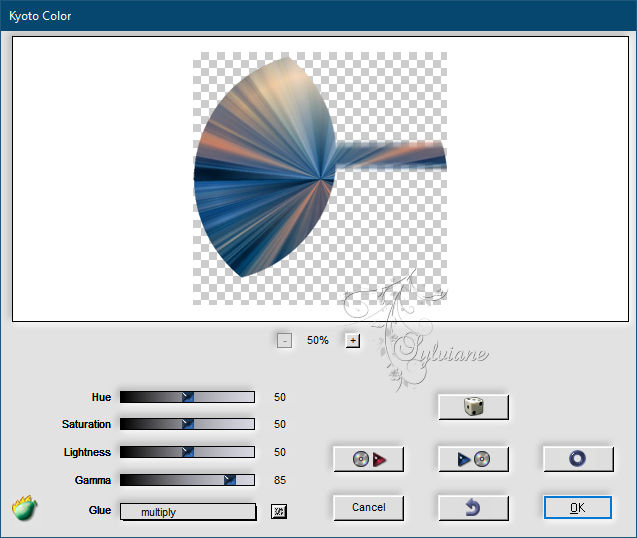
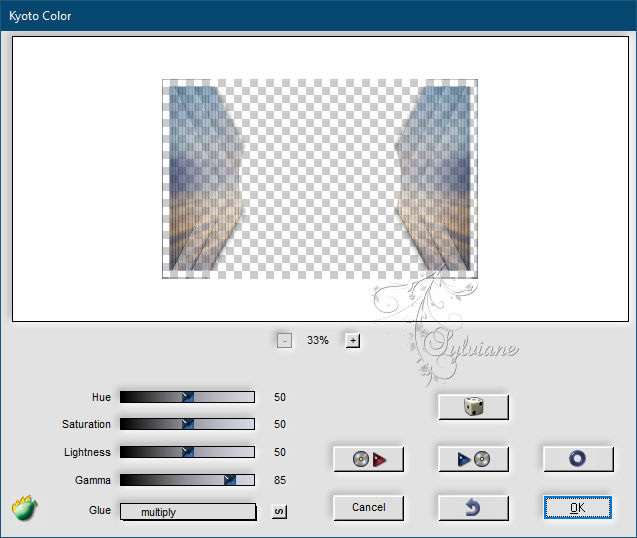
Plugins - Flaming Pear - Kyoto Color
6.
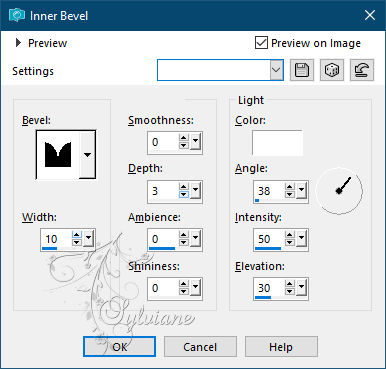
Effects - 3D Effects - Inner Bevel
Selections - modify - contract 10 pixel
Layers - new raster layer
Open the image "wallpapertip_ocean-wallpaper_61399"
Edit - copy
Activate your work
Edit - paste into selection
Layers - new raster layer
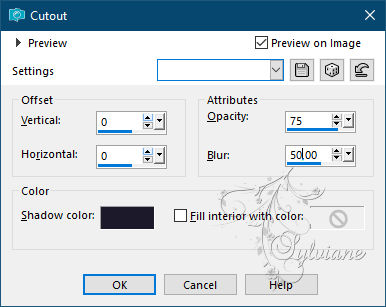
Effects - 3D effects – Cutout
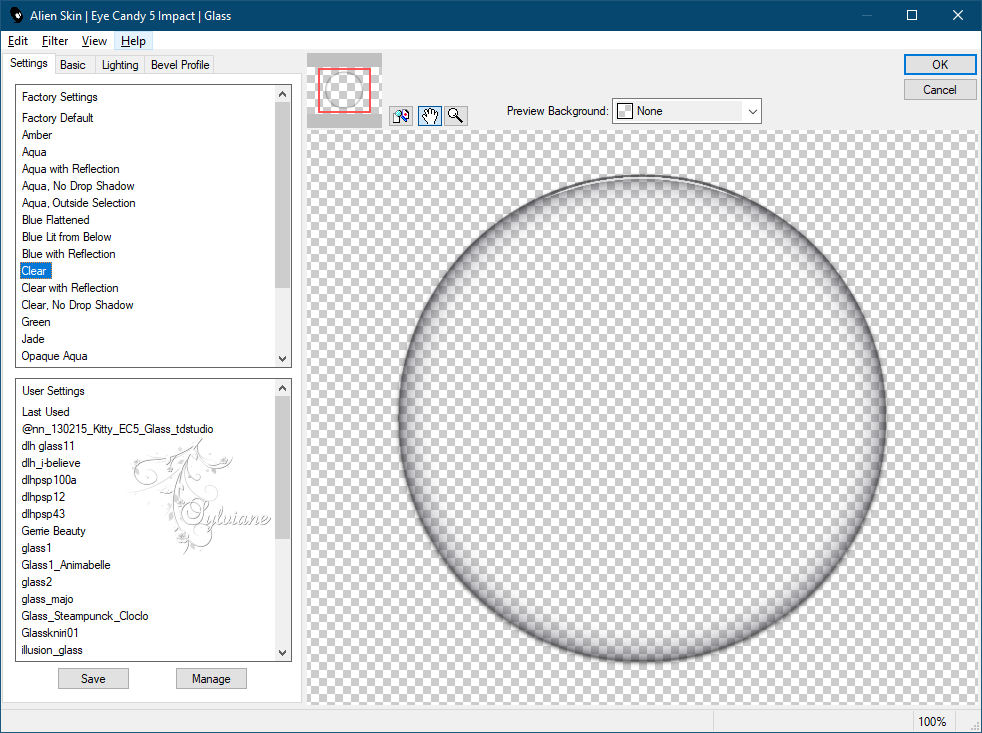
Plugins - Eye Candy 5 Impact - Glass

Layers - Merge - Merge Down - 2 x
Layers - arrange - down
7.
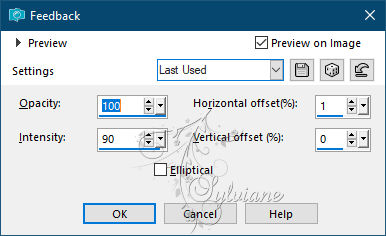
Effects – reflection effects – feedback
Activate Promoted Selection
Press delete
Activate Promoted Selection 1
Selections - load/save selection - make selection from disk "SELECTION 2 159"
Selections - modify - contract 90 pixels
Press delete
Layers - new raster layer
Open the image "wallpapertip_ocean-wallpaper_61399"
Edit - copy
Activate your work
Edit - paste into selection
Layers - new raster layer
Effects - 3D effects – Cutout
Layers - Merge - Merge Down - 2 x
8.
Our layers and our tag look like this:
Selections - select all
Selections - floating
Selections - not floating
Layers - arrange - down
Activate Raster 2
Press delete
Selections - select none
9.
Selections - load/save selection - make selection from disk "SELECTION 3 159"
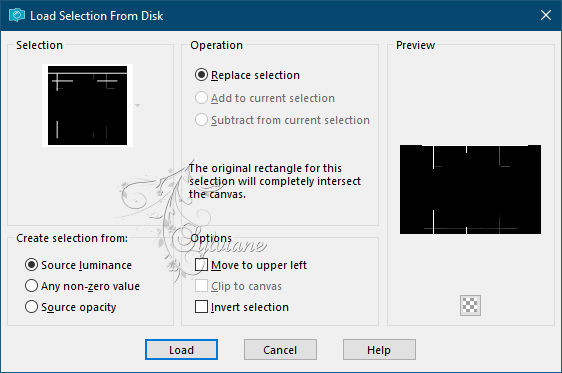
Press delete
Layers - new raster layer
Open the tube "DECO PERSO 2 159 JUILLET 2021"
Edit - copy
Activate your work
Edit - paste into selection
Selections - select none
Effects - 3D Effects - Drop Shadow
1/1/60/1 color:#000000
10
Activate raster 2
Selections - load/save selection - make selection from disk "SELECTION 4 159"
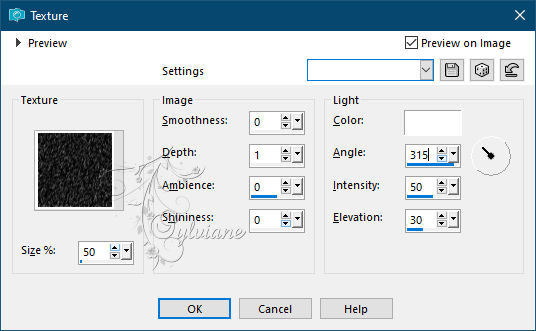
Effects - texture effects - texture "Texture-tuto-78-Azalee"
Selections - select none
Our layers and our tag look like this:
Activate Promoted Selection 1
Layers - Duplicate
Plugins - Flaming Pear - Flexify 2

Layers - arrange - in front
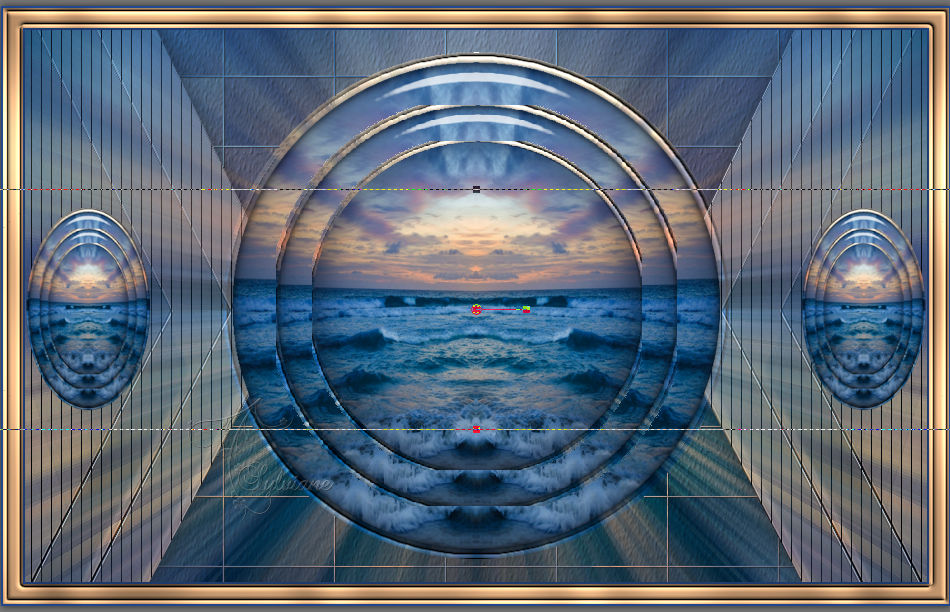
Image - resize - 40% - uncheck all layers
place as in the example

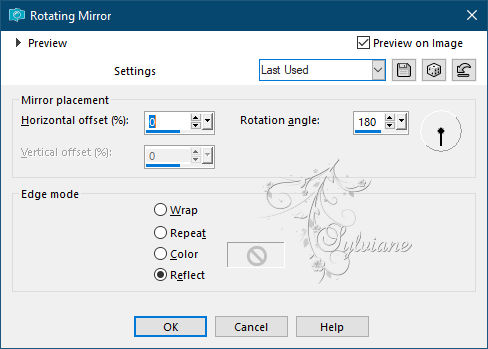
Effects - Reflection Effects - Rotating Mirror
12.
Layers - new raster layer
Fill the layer with the foreground color
Selections - modify - contract 2 pixel
Press delete
Fill the selection with the background color
Selections - modify - contract 20 pixels
Press delete
Fill the selection with the foreground colorgrond
Selections - modify - contract 2 pixel
Press delete
Effects - 3D Effects - Drop Shadow
0/0/60/30 color:#000000
Selections - select none
13.
Selections - load/save selection - make selection from disk "SELECTION 5 159"
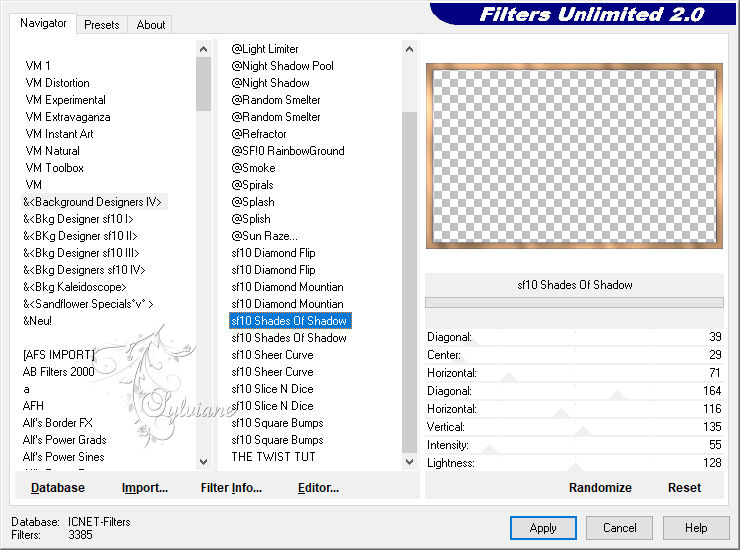
Plugins - Filters Unlimited - Background Designers IV - sf10 Shades of Shadow
Effects - 3D effects - inner bevel - settings are correct
Selections - select none
14.
Activate Copy of Promoted Selection 1
Layers - arrange - in front
Selection Tool (K) - place like here
Activate Promoted Selection
Layers - arrange - up
Selections - load/save selection - make selection from disk "SELECTION 5 159"
Press delete
Selections - select none
Plugins - Flaming Pear - Kyoto Color
15.
Selections - select all
Image - add border - 40 pixel foreground color
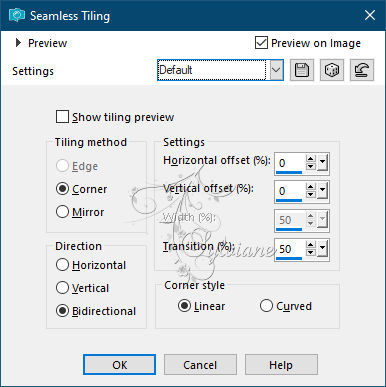
Effects - Image Effects - Seamless Tiling
Selections - invert
Adjust - changegen - gaussian blur - range 10
Layers - new raster layer
Open the tube "DECO PERSO 3 159 JUILLET 2021"
Edit - copy
Activate your work
Edit - paste into selection
Layer palette - set the blend mode to luminance (legacy)
Layer palette - activate the bottom layer
Effects - texture effects - texture "Texture-tuto-78-Azalee"
Selections - select none
16
Layer palette - activate the top layer
Open the tube "DECO PERSO 4 159 JUILLET 2021"
Edit - copy
Activate your work
Edit - paste as new layer
Selection Tool (K) - place the tube like here
Open the tube "JUN 2021 SAMANTHA SWEETY"
Edit - copy
Activate your work
Edit - paste as new layer
Slide the tube in place
Effects - 3D Effects - Drop Shadow
0/0/40/20 color:#000000
17.
Open the tube "JUIN 2021 DECO PANCARTE SWEETY" and select one of the posts
Edit - copy
Activate your work
Edit - paste as new layer
Slide the tube in place
Effects - 3D effects - drop shadow - settings are correct
Image - add border - 2 pixel background color
Image - resize - 950 pixel wide
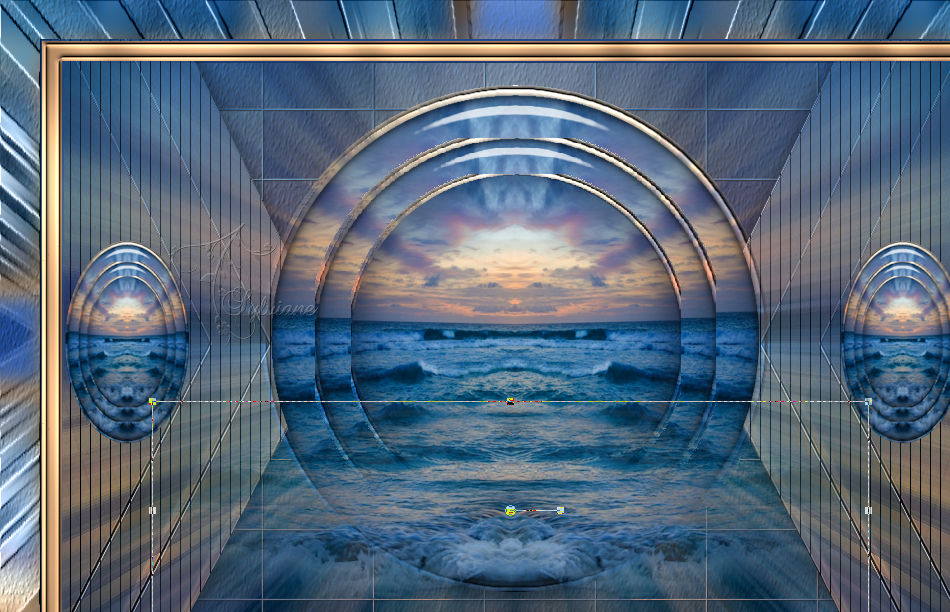
Place your name or watermark
Save as jpg
Back
Copyright Translation © 2021 by SvC-Design